COMMON SOY WAX CANDLE MAKING MISTAKES AND THEIR SOLUTIONS

You’ve made your soy wax candle, left it for drying and are excited to see it once it’s ready. You suddenly have your dream being shattered when you were expecting to see your creation in its beauty, but weren’t ready for what you saw. Your candle was nowhere near perfect. You feel disheartened, sad and even want to give up without giving yourself another chance.
Just like anything new we learn needs practice and perseverance to be perfect, candle making does too. Apart from being a beautiful art, there’s science to candle making. Once we understand that, there’s no end to the beautiful creations we can bring out every time we melt some wax.
Having said that, we have all experienced disappointment at one time or another. Let us address the common issues faced while making soy wax candles, and their solutions.
1) Sinkholes
Sinkholes are a very common issue faced by candle makers. Even those with years and years of experience are not spared from experiencing this. This is because sinkholes are sometimes caused by air getting trapped in the wax during the manufacturing process. If the wax cools down before the air has a chance to escape, air pockets are created. These can vary in size.
Solution
Monitor the wax while melting to spot any air bubbles. Stir the melting wax very gently. Tap the container gently after pouring the wax.
Pour another layer of melted wax and allow it to cool.
If you are out of melted wax, use a heat gun on low setting and melt the top layer of the candle. Do it one more time if required.
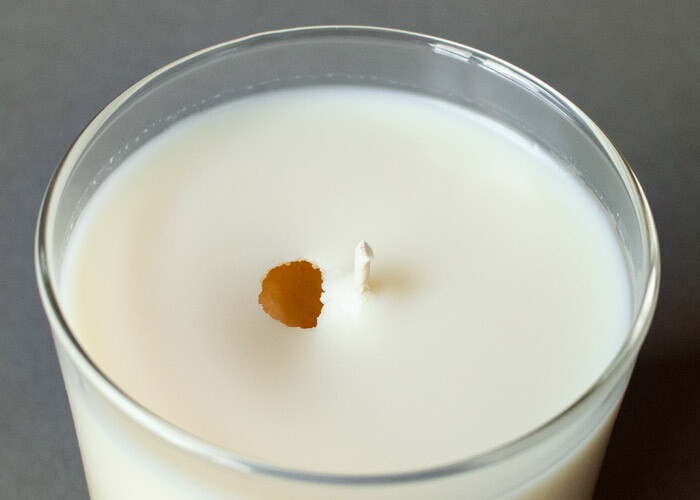
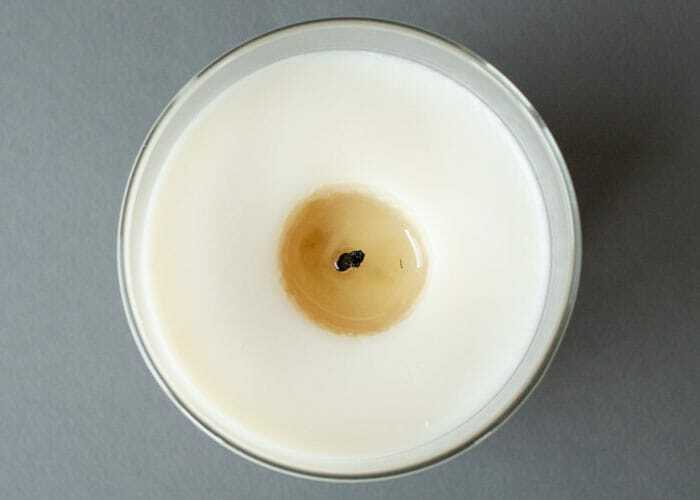
2) Small Melt Pools
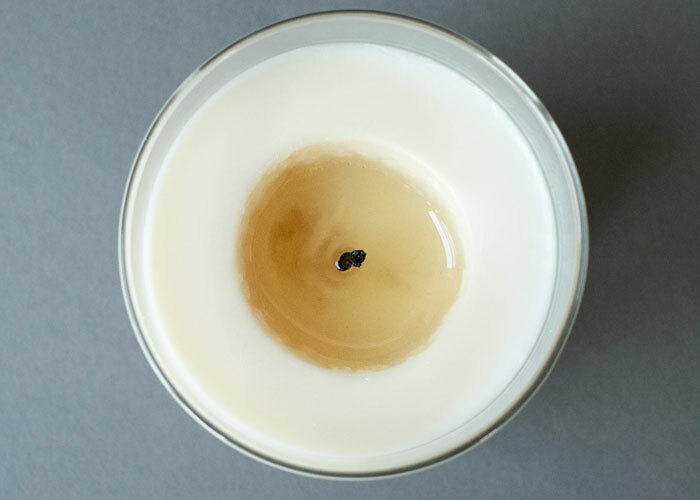
It takes time to create an even melt pool at the top. It is approximately 1 hour per inch of the diameter of your candle. If it does not create an even melt pool despite the candle burning for the required time, it means that your candle is not generating sufficient heat.
Solution
Small melt pools are caused when the candle is not generating enough heat. The wick is not burning at the temperature needed to create the melt pool size that indicates a well-made candle with a strong scent throw. Try using a bigger wick.
Do not trim your wick too short. Trimming your wick too short can prevent the candle from generating enough heat to create a proper melt pool. Be sure to keep your wick trimmed between 1/4 – 1/2 inches.
It takes some time for an even melt pool to be created, around 1 hour per inch of the diameter of your candle. Do not put off your candle before you see an even melt pool at the top.
A jar of around 4 inches will take 4 hours for an even melt pool to be formed.
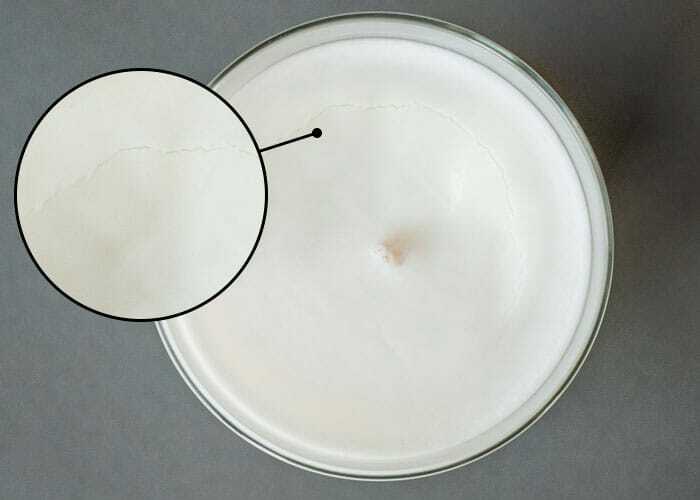
3) Wet Spots
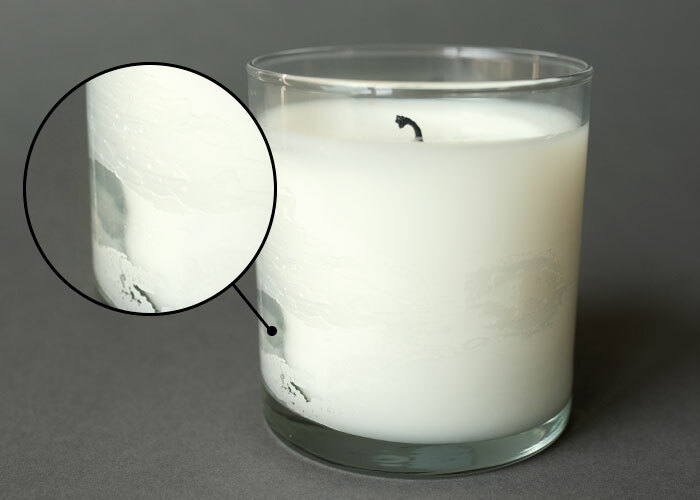
This is a very common issue that we have all faced at one time or the other. There are places the wax pulls away from the container, creating gaps between the container and the wax.
It is caused by the wax cooling faster in some areas than others. Part of the wax pulls away from the glass while the remainder adheres to the sides of the container.
Solution
Clean your glass containers well and preheat them. Cleaning your containers ensures a beautiful looking candle and preheating it allows the wax to cool more slowly and help avoid pull away from the container.
Pour the wax slowly in the container. Pouring the wax slowly into your containers minimizes the chances of additional air getting into your wax.
It’s also helpful to tap the sides of your containers gently right after you’ve poured the wax to release any air bubbles.
Space your jars away from each other while cooling, when making a larger batch.
While cooling your candles, space them about 4 inches or more apart. If the glass containers are touching each other, they hold heat on the adjacent sides. This causes those sides to cool more slowly than the rest of the jar. Allowing enough airflow around your candles as they cool will encourage an even rate of cooling. You can also set your candles on a wire cooling rack rather than on a counter or table top. Solid surfaces, particularly granite and marble, will pull the heat from the bottom of the jar and can cause the wax to cool too quickly so that it shrinks and pulls away from the glass.
4) Tunneling
Tunneling happens when a candle wick consumes too much wax and/or fragrance too quickly. Instead of forming a slow, even melt pool that extends to the edges of a container, a narrow melt pool forms in the center and burns down quickly, leaving a large amount of wax on the sides of the container.
Solution
Increase your wick size. If the wick is too small, it burns off the wax too fast and does not generate enough heat to create an even melt pool. It can happen even when your wick is too large. It burns off too much wax too quickly. Using the correct size wick is very important.
5) Mushrooming
Another common issue is the “mushroom” shape sometimes seen at the end of a candle wick after burning. This is the result of carbon buildup and happens when the flame consumes more fuel than it can burn.
Solution
Use less fragrance and / or dye. Using less fragrance and dye will ensure that the flame of your candle properly consumes all the material flowing up through the wick. You don’t necessarily need to use the maximum fragrance oil load to achieve a strong scent throw. Doing so may even have the opposite effect and hinder your throw rather than boost it.
Trim the wick between burning. Some wicks are more prone to mushrooming than others. Be sure to trim your wick to 1/4″ each time you burn the candle.
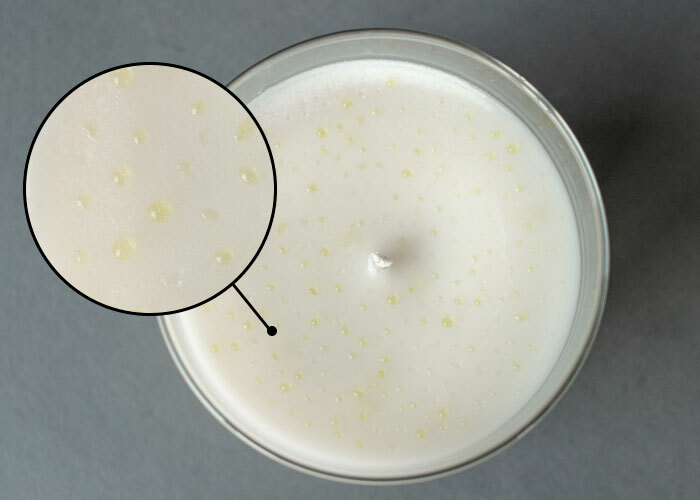
6) Frosting

Frosting is a byproduct of a natural wax, and is caused by the growth of tiny crystals on the surfaces of the wax. All soy wax will frost over time, but frosting does not affect the way your candle burns or smells.
Solution
Do not mix the melted wax vigorously. Doing so can speed up the crystallization process, causing frosting.
Preheat your glass containers. Preheating the container may reduce the rate of frosting. Make sure to do so at the lowest setting in your microwave. Do not make the containers too hot and excersize caution while handling the warm containers.
Pour the wax at a lower temperature. Always follow the correct pouring temperature instructions.
Let the candles cool more slowly. Make sure the candles are not in an air-conditioned room or near any direct draft of air when they are cooling. Preferably place them on a wire rack while cooling.
7) Rough Tops
Rough and uneven tops are another common occurrence when working with soy wax.
Solution
Avoid over stirring. Vigorous stirring can produce air bubbles in your melted soy wax that can lead to imperfections in the finished candles. If you notice air bubbles, tap the container gently right after pouring to help any air bubbles escape to the top.
Make sure that you pour the melted wax in the container at the correct temperature.
Add a layer of melted wax on top and cover the imperfection.
Alternately use a heat gun and melt the top layer to even out the surface.
8) Cracking
Another issue commonly faced by candle makers is cracking. This is caused by the combination of the wax shrinking slightly as it cools and tiny air bubbles stuck in the bottom of the container. After the wax hardens, it sinks a bit where the air bubble left a void. Most people will not notice this and it does not affect the burn of the candle.
Solution
Gently tap the sides of your containers right after you’ve poured the wax to release any air bubbles.
Keep the jars to cool on a wire rack instead of directly on a granite platform.
Add wax to the container at the correct pouring temperature.
Add a layer of melted wax on top and cover the imperfection.
Alternately use a heat gun and melt the top layer to even out the surface.
9) Fragrance Leaching
In a few days after your candle has cooled, you may sometimes notice that there is a significant amount of liquid on the surface of your candle and a very strong fragrance. This is known as fragrance leaching or bleeding. It is typically caused due to adding excess fragrance oil or adding it at a cooler temperature.
Solution
Follow the temperature instructions for adding the fragrance oil. 85°C is good to bind any fragrance oil with the wax. Adding your fragrance at 85°C is particularly important if the fragrance oil is especially thick and viscous, as these fragrances require enough heat to disperse through and bind with the wax.
Stir gently for 2 minutes. It may seem a long time but stirring for 2 minutes helps the fragrance oil to get fully incorporated in the wax.
Adjust the amount of fragrance you add to the wax. More fragrance oil does not necessarily result in a stronger scent, and can even have the opposite effect. All waxes have a maximum fragrance load, and it is very rare that using the maximum fragrance load is necessary. The vast majority of high quality fragrance oils will be quite strong at 6-8%, and we do not recommend using more than 10% fragrance—even if your wax states it can hold more.
10) Sooting and Large Flames

When the candle is burning you may notice some smoke coming from the flame, which is normal. But a well-made candle will not produce excess visible smoke. If you see a large amount of smoke coming from the flame, that can be a sign you need to adjust your process and/or supplies.
Solution
Check your wick. You may need to change it. If you see a thick, constant stream of smoke coming from the flame, large puffs of smoke, smoke that streams up from the wick continuously, or your container is collecting a dark film around the rim of your container, these are all signs that you need to size down on your wick.
Decrease the fragrance load. If your fragrance load is too high, the flame can burn off the excess oil that was not able to bind with the wax, creating heavier-than-usual, dark smoke. The maximum fragrance load is rarely needed. Most fragrances will be plenty strong at 6-8%, but no more than 10% should be used even if your wax states it can hold more.
11) Clumpy, Wet Wax
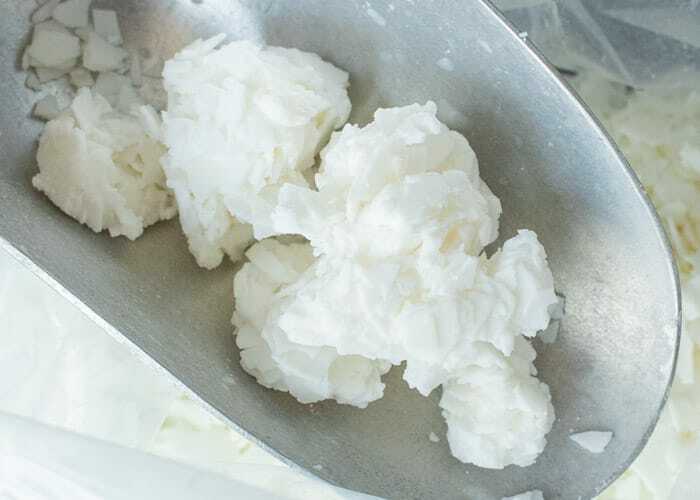
Soy wax is a natural product, and may vary slightly from batch to batch. Sometimes you will get oily flakes that clump together and sometimes they will be very dry and crisp. When the wax is clumpy or oily it is usually due to the outside temperature or higher oil content in the wax. This is nothing to be alarmed about and you should follow regular soy candle making procedures.
Solution
If the clumping you see in your wax is due to excess moisture or humidity, heating your wax to 85ºC – 93ºC and holding it there for about 5-10 minutes will help it evaporate out.
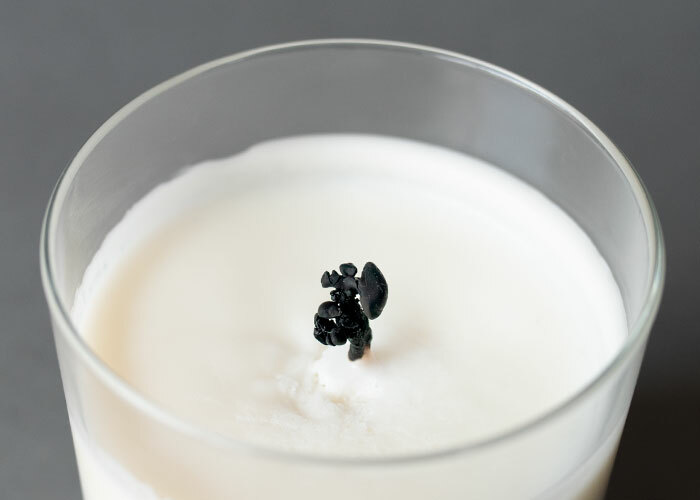
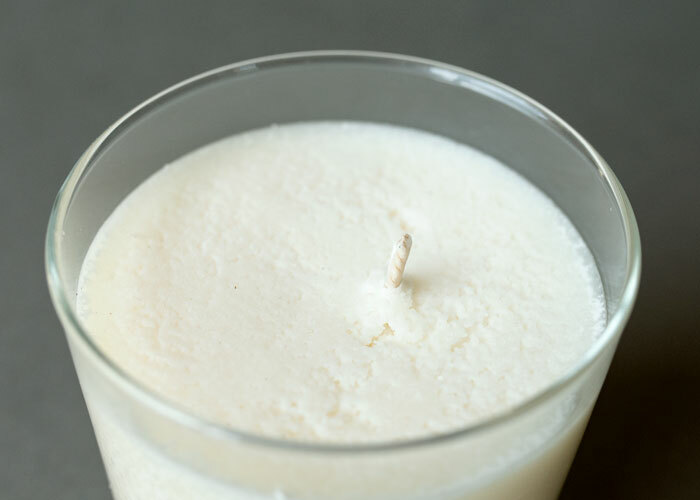
Another very important point to consider, to produce a perfect burning candle, is centering the wick. Make sure that your wick is centered from the bottom to top for and even melt pool throughout.
Learn to make beautiful candles by joining one of our Candle Making Workshops
Use Code – Candle10

Meenal, based out of Mumbai, India, has a vast experience of making candles. For over 24 years, she has been involved in making various types of candles and has trained thousands of students many of whom are running successful brands. She has been conducting offline and online candle making workshops for a very long time.